

Myrskypäivän viihdykkeeksi ajattelin ommella parit scrunchiet. 1990-lukulaiset tuntevat nämä viehättävät asusteet paremmin hiusdonitsin nimellä. Meidän kangasvarastossa on laadukkaita kankaita. Alunperin niistä oli tarkoitus ommella kestokasseja, mutta ne eivät menneet kaupaksi.
Siispä töihin. Scrunchien malleja on yhtä paljon kuin niiden tekijöitä. Seuraavassa yksi versio. Leikkasin kankaasta 70 X 10 cm suikaleen, taitoin sen oikean puolen sisällepäin pitkittäin kahtia ja ompelin sauman pitkälle sivulle n.7 mm reunasta. Näin syntyy pitkä putkilo. Käytin apuna saumanvaran arvioinnissa ompelukoneen paininjalkaa.

Mielestäni kaikkein tylsin ja työläin vaihe scrunchien valmistuksessa on syntyneen kangasputkilon kääntäminen oikein päin. Apuvälineenä käännöstyössä voi käyttää pitkää neulepuikkoa tai vastaavaa. Nujusin tällä kertaa putkilon oikein päin ilman mitään apuvälineitä. Niitä meillä on huusholli täynnä, mutta niin on kaikkea muutakin kamaa, joten vaikea olisi nopeasti löytää pitkää neulepuikkoa.

Seuraavaksi leikkasin kuminauhasta noin parinkymmenen sentin pätkän ja kiinnitin nauhan toisen pään kiinni hakaneulaan. Sitten vaan pujotin kuminauhan kangasputkilon läpi. Varo, ettet karkuuta kuminauhan toista päätä putkilon!

Sitten solmit kuminauhan päät tiukasti umpisolmulla yhteen. Kiristä solmu vielä huolellisesti, ettei se aukea käytössä kangasputkilon sisällä.

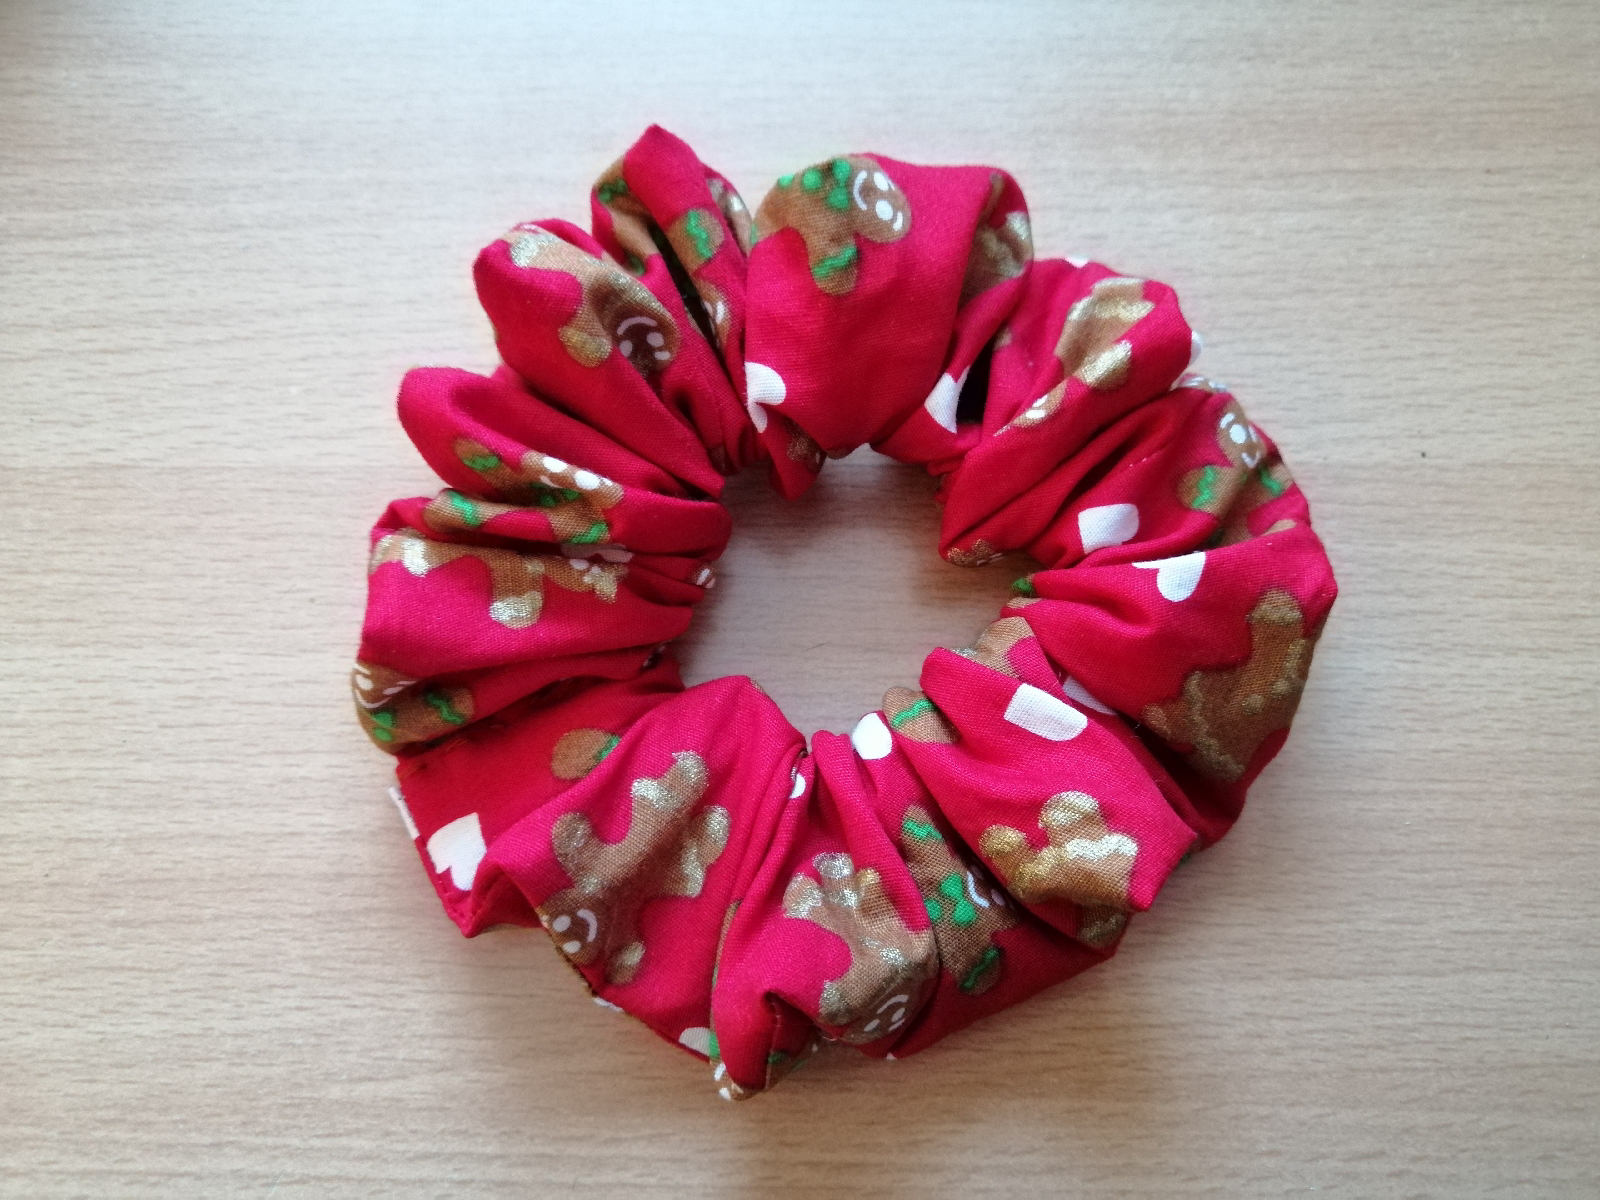
Lopuksi yhdistät putkilon päät huolellisesti. Tarkista, ettei kangas ole kiertynyt korkkiruuville. Ompele sauma käsin pienin pistoin umpeen. Valmis!
Jos sinulla ei ompelutaidot ole vahvinta alaasi, klikkaa verkkokauppaamme ja tilaa valmis scrunchie. Täältä löydät eri kuoseja ylapihantila.mycashflow.fi

For storm day entertainment, I thought of sewing a couple of scrunchies. 1990s readers are more familiar with these charming accessories as hair donuts. This fabric was originally intended to be used to sew durable bags, but they did not go on sale.
So to work. There are as many models of scrunches as there are makers of them. Here is one version. I cut a 70 X 10 cm strip of fabric, folded the right side of it lengthwise in half and sewed the seam on the long side about 7 mm from the edge. This creates a long tube. I used the presser foot of the sewing machine to assess the seam allowance.

In my opinion, the most boring and laborious step in making scrunches is turning the resulting fabric tube in the right direction. A long knitting needle or similar can be used as an aid in translation work. This time I leaned in the right direction of the tube without any aids. We’re full of them, but so is everything else, so it would be hard to quickly find a long knitting needle.

Next, I cut a piece of rubber band about twenty inches and attached the other end of the tape to a safety pin. Then I just threaded the rubber band through the fabric tube. Be careful not to run away the other end of the tube from the rubber band!

Then tie the ends of the rubber band tightly with a closed knot. Tighten the knot carefully so that it does not open during use inside the fabric tube.

Finally, connect the ends of the tube carefully. Check that the fabric is not twisted on the corkscrew. Sew the seam by hand with small stitches. Ready!

If you do not have the strongest sewing skills in your field, click on our online store and order a ready-made scrunchie. Here you can find different patterns for ylapihantila.mycashflow.fi
Ei kommentteja:
Lähetä kommentti